
If you’ve wanted to try your hand at string art, today’s post is just for you! And if you haven’t thought about it, read today’s post and you may very well change your mind. String art is a great way to create fun works of art that you can feel proud to display in your home. They also make great gifts. Check it out!
What tools do you need for string art projects? It’s pretty simple, actually. Here’s a basic list:
- size 10 or 12 crochet thread is a great string to use {get it at Michaels!}
- nails in any size {if you want to “hide” them in the project, use white nails with white string}
- a wooden board, finished or unfinished as you like
- a hammer
- a pattern you like
Before you choose a pattern, think about the following tips:
- hearts and stars are the best projects for a beginner
- if you choose a word, try a bigger font for the first try
- locate a piece of wood in the right size, and get it stained or painted before starting the project
Here are the best string art tricks I’ve seen:
- Print two copies of your pattern. Tape one to the wood you’re working on, and keep one for a reference as you work.
- A pattern is made up of dots. Hammer a nail into each one. After the nails are hammered into the wood, you can remove the paper pattern.
- Knot the string onto the first nail, and then you’ll work out from there to complete the pattern.
- Think about stringing your project just tight enough that it won’t slip off the nails. Too tight, and the nails will lean and your project will look “off.”
- Tie a knot in the string when you finish, and then just tuck the ends into the body of the string art to hide them.
Check out these string art patterns I found:
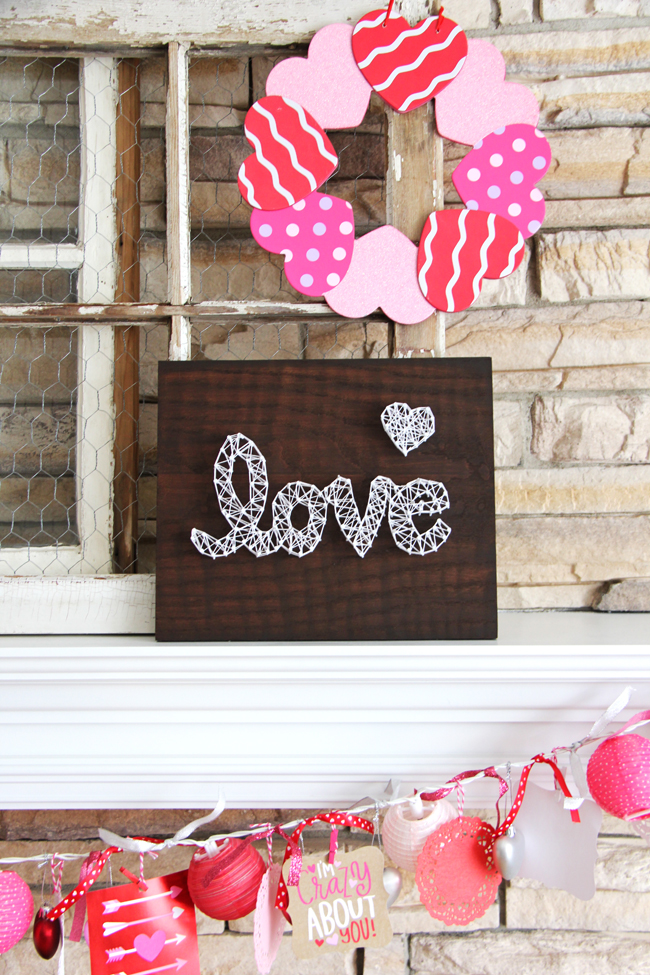
A Pretty Life in the Suburbs “LOVE”
String Art Fun free patterns
The Spruce step-by-step string art tutorial


Leave a Reply