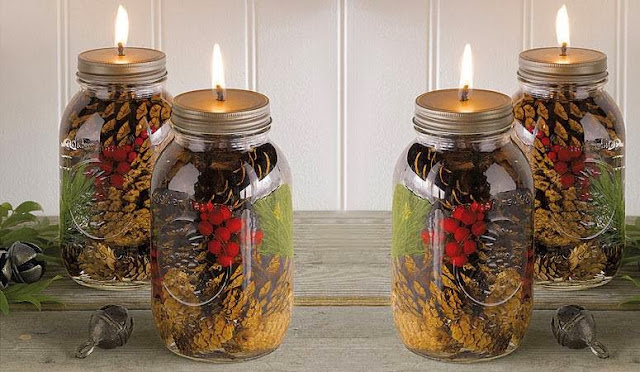
Mason jar oil lamps are a great DIY project. If you love to burn candles, you’ll love these mason jar oil lamps even more. They’re beautiful, customizable, and also smell amazing! Stick around while I show you how to make mason jar oil lamps.

How To Make Mason Jar Oil Lamps
You’ll need these supplies for this project:
one glass mason jar, with a metal lid
a strip of 100% cotton for the wick, or a fiberglass wick
olive oil, or other indoor, non-toxic lamp oil {choose scented if that’s what you like}
food coloring if desired
nail and hammer
scissors
Unscrew the lid from the jar. Hammer the nail through the center of the lid to make a hole for the wick to pass through. Measure how much wick you need to hang from 1/4″ over the lid, to the very bottom of the jar, then add an extra couple of inches so that you will get plenty of use out of that wick as you trim it.
Before assembling your oil lamp, put the bottom third of the wick into a bowl and cover with olive oil. Allow it to sit for a few minutes to soak up oil. Remove the wick from the oil and lay it on a paper towel to absorb excess oil until you’re ready to insert it into your lamp. This will make your first burn go much easier.
Pour your chosen oil into the jar and add coloring if desired. If you don’t have olive oil, note that paraffin oil or almond oil work just as well.
Screw the lid on the jar. Insert the wick, leaving just 1/4″ outside and above the top of the lid. If you leave too much wick, you will have a huge flame. A shorter wick is safer.
For a fun variation, fill your jar with decorative items such as dried flowers, pinecones, or berries before adding the oil. It is safe and looks extra pretty!

Here are my resources and additional information/tutorials for this post:

Leave a Reply