
If you own a Cricut machine with their online design software, you can use it to make a one-of-a-kind pillow perfect for any room in your home. This is a project fit for even a beginner. The best thing is that this pillow can be completed, start to finish, in only two hours or less!

What you need for this project:
12×24 Fabric Grip Mat
your sewing machine, (a serger is optional)
an 18×20″ pillow form
floral fabric of your choice–1/4 yard of 45″ wide
cream color fabric–1 yard of 45″ wide, or 1 1/2 yards of 60″ wide
pink fabric–1/2 yard of 45″ wide
Cricut Explore Air (and online software)
Step One:
Cut all the fabrics into 12×24″ mats. When finished, you should have one mat in the floral fabric, two mats in pink fabric, and six mats in the cream fabric.
Step Two:
Follow the directions in the online software to cut the pillow pieces from the fabric mats. Now you are ready to sew the pieces together! Note that there is one floral stripe for the center front, two pink stripes for the center back, and four cream stripes for the top and bottom on both the front and back of the pillow.
With right sides together, sew the top and bottom stripes onto either side of the center-stripe pieces for front and back.
Press all seams toward the darker fabric. You can serge the seams if you desire.
Fold the long edges of the back pieces 1/4″, and iron into place.
Fold the edge over itself again at 3/4″. This will create a hem on one side of each of the back panels. Stitch the hem in place.
With right sides together, arrange the front panels over the back panels. Outside edges should match up, with the hemmed edges overlapping in the center. Pin all pieces in place, especially where the hems are overlapping.
Using the sewing machine, stitch around the entire outside of the pillow cover.
To prevent the fabric from fraying, serge the edges.
Now turn the finished pillow cover inside out and put your pillow form inside.
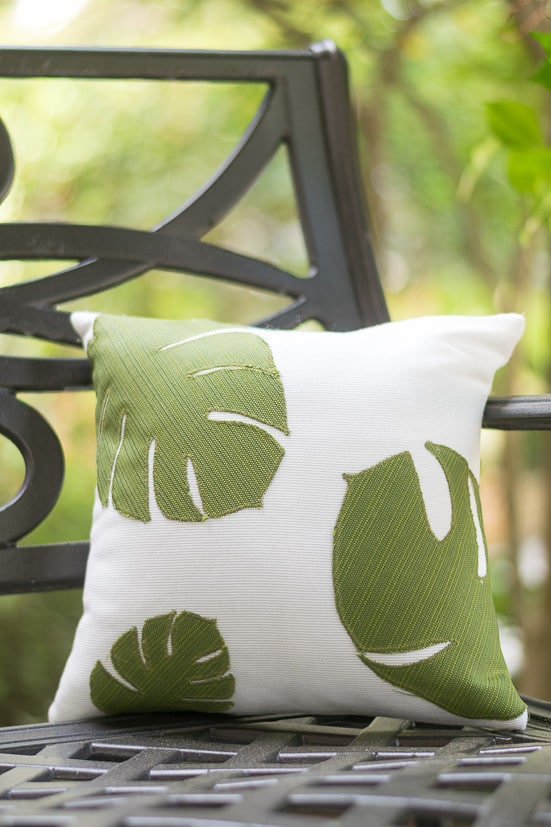
Want other pillow ideas? See Nourish and Nestle for a tutorial on a tropical pillow cover made with a Cricut machine:


Leave a Reply