• DIY
  • Home Decor
  • Modern Farmhouse
  • Seasons
  • Weddings
  • Christmas

Pickled Barrel

Beautiful modern farmhouse decor and rustic charm that warms the heart. Modern fixer upper farmhouse decor and farmhouse DIY projects. Farmhouse decor, Rustic decor and DIY.

DIY, Home Decor · February 15, 2018

How to Cut Burlap and Keep it from Unraveling

How to Cut Burlap and Keep it from Unraveling| Burlap, Cutting Burlap, How to Cut Burlap, Cutting Burlap, How to Cut Burlap, Crafts, Craft Projects, Popular Pin #Crafts #CuttingBurlap #BurlapCrafts


Burlap is great for so many uses, but at Pickled Barrel we especially love burlap for its rustic appeal! Whether you want to use burlap for home, wedding decor or any other crafty purpose, you need to know how to cut it correctly. Once it’s cut in a straight line, you also need to know how to keep it from unraveling. Today’s post will show you how to accomplish both. Find a variety of colors of burlap at Michaels!

Do you know how to cut burlap the right way? This little trick makes it so much easier to craft with burlap! | decorbytheseashore.com


To cut burlap in a straight line, you need to measure it first. Measure what you need so you know exactly where you want your cut. Once you locate the precise area, you need to find one of the strands protruding from the edge. Grasp the end of the strand firmly, and pull it out of the burlap completely. As you pull, the burlap will ruffle, but keep pulling until the strand is pulled free.

Do you know how to cut burlap the right way? This little trick makes it so much easier to craft with burlap! | decorbytheseashore.com


Once the strand is removed, you should be left with a nice little channel that will guide your scissors in a perfectly straight line from one end to the other. So easy!

Do you know how to cut burlap the right way? This little trick makes it so much easier to craft with burlap! | decorbytheseashore.com


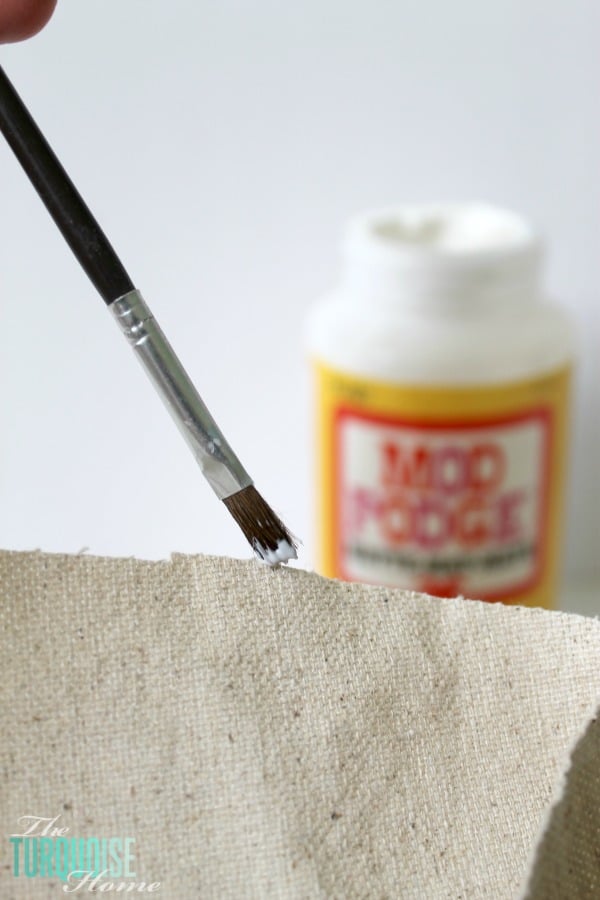
After you have cut your burlap as desired, here is the best & quickest tip for protecting the edges so that they’ll never unravel. Grab a bottle of Mod Podge. If you need some, you’ll find it at Amazon in a variety of sizes. Use a small brush to apply a thin layer of Mod Podge along the cut edges of the burlap. Let it dry, and you’re set! This tip also works for canvas applications.

Quick tip: How to Keep Burlap or Canvas from Fraying | TheTuquoiseHome.com


Another way to protect the edges of your burlap is to apply some masking tape or fabric binding to the backside. It will hold the edges and keep them from unraveling in a pinch, but the best way is to use Mod Podge, or to sew them with a zig zag stitch on your sewing machine. Good luck!

Reduce stitch length when sewing with burlap

For more burlap tips, see the following sites:

Decor by the Seashore

The Turquoise Home

Craftsy how to sew burlap

Contents
1 Dying for more rustic crafts? Here are a few reader favorites:
2 10 Storage Solutions for the Rustic Home
3 Joanna Gaines-Approved Rustic DIYs
4 How to Make Your Laundry Room Look Seriously Rustic

Dying for more rustic crafts? Here are a few reader favorites:

10 Storage Solutions for the Rustic Home

Joanna Gaines-Approved Rustic DIYs

How to Make Your Laundry Room Look Seriously Rustic

You might also enjoy

Easy Kitchen DIY Wood Projects
10 Interesting Ways to Display Your Television| How to Display Your Television, DIY Living Room, How to Decorate Your Living Room, Living Room Decor, How to Display a Television, Living Room Hacks, DIY Home, DIY Home Decor10 Interesting Ways to Display Your Television
Easy DIY Reclaimed Wood Projects - PickledBarrel.comEasy DIY Reclaimed Wood Projects
« 12 Smoothie Recipes Kids Will Love
“Homestead” Styled Dollar Store DIYs »

Leave a Reply Cancel reply

Your email address will not be published. Required fields are marked *

Design by SkyandStars.co

Copyright © 2026