![]()
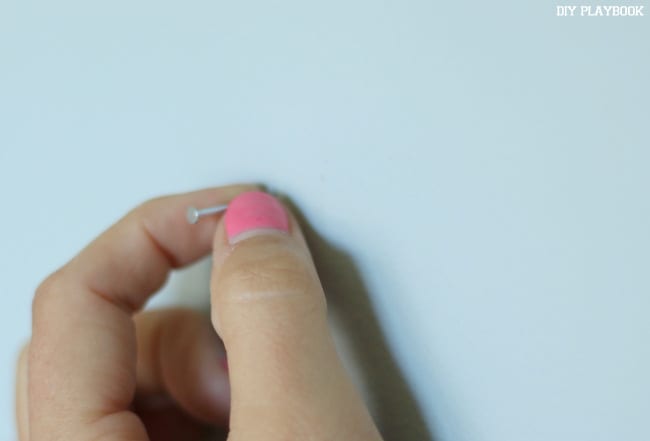
Nail holes in walls are one of the easiest DIYs you can do around your home. There’s absolutely no reason to put up with them when they are so easy to get rid of! Today’s post will show you just how easy. So stick around!

What you need for easily repairing those nail holes is this:
- lightweight spackle
- a small putty knife {or even your finger will work}
- touch-up paint
- a small paintbrush
This lightweight spackle you’ll find at Amazon goes on pink and then dries white. So handy for seeing exactly where you put it and knowing when it is dry. I highly recommend it!

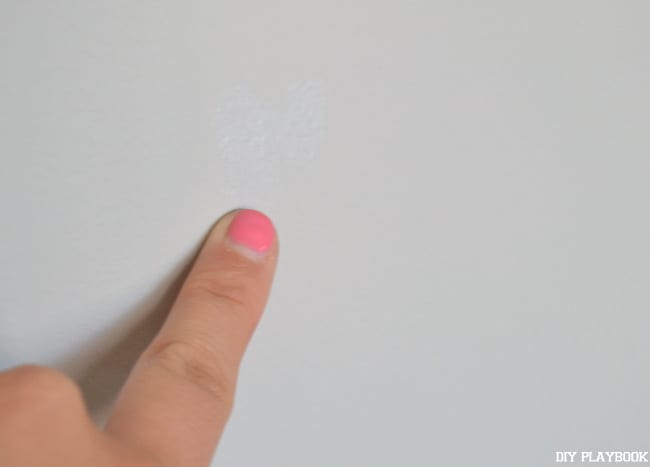
Personally, I prefer to use my finger rather than a putty knife, but you can do whichever you prefer. Just put some of the spackle right on the end of your finger and press it into the nail holes. Try to completely fill the holes with spackling paste, without getting much at all on the surrounding wall. When a hole is filled, it should look like this:

Once you have filled the nail holes, allow the spackling time to dry for about one hour. After the drying time, use a small paintbrush to touch up the paint. Be sure to lightly feather the paint into the old to help disguise the patch. Once that is done, no one will never know exactly where the hole was!

Howdy! This is my first visit to your blog! We are a collection of volunteers and starting a new project in a community in the same niche. Your blog provided us valuable information to work on. You have done a wonderful job!