![]()
Today I’m going to show you how you can paint a sink {for an easy upgrade!}. It’s an easy DIY project perfect for those who want to update their sink. You don’t have to buy a new sink, and you won’t have to remove the plumbing {unless you want to!}. Let’s check it out.
![]()
![]()
To paint a sink, you first need to acquire the right product for the job. You need an epoxy paint specially made for this purpose. One such product is Homax Tub, Sink & Tile epoxy. It’s simple to use because it can be brushed on to the surface.

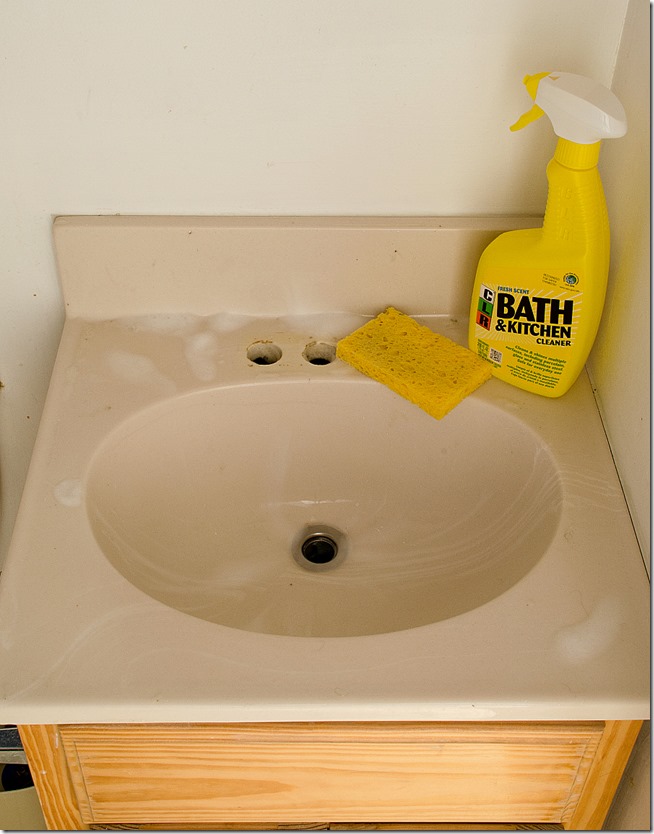
Once you have the right product, you are ready to get to work. The next step is to remove the faucets if you intend to change them out. If you’re not changing them, that’s okay too. Just be sure to tape them off before painting. Thoroughly clean your sink using a product such as CLR that will remove soap scum and mineral deposits.
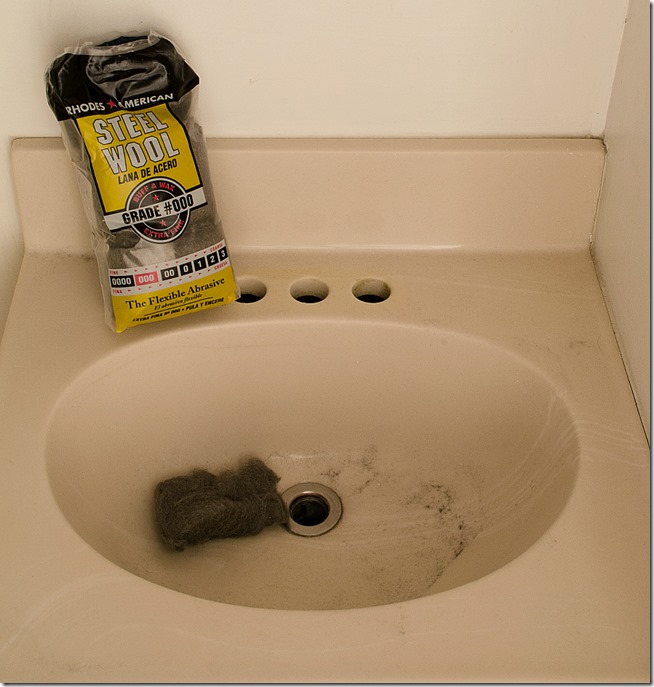
Once the sink is cleaned, rinse and dry it completely. Now use steel wool {grade 000} to just lightly rough up the surfaces of the sink. This helps the epoxy cling better. Thoroughly rinse and dry the sink again.
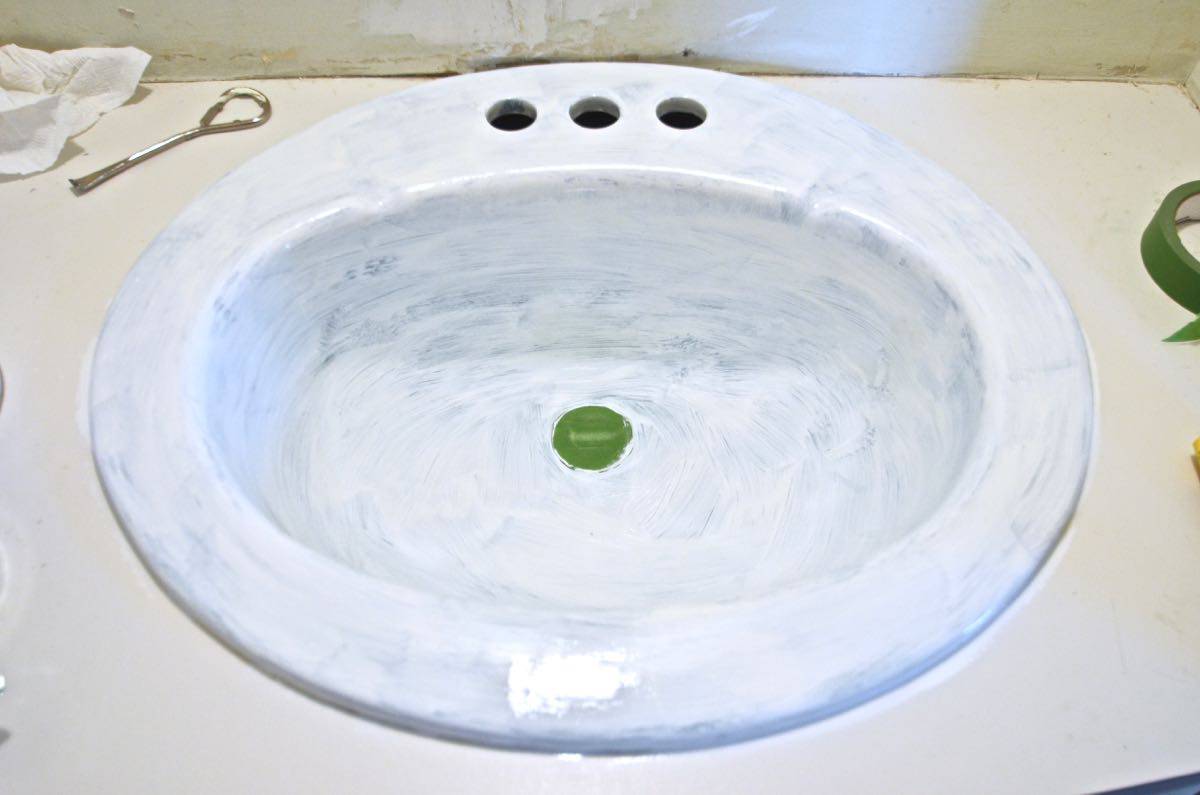
Tape off the faucets {unless you removed them} and any other surface you don’t want to get the epoxy on. Now you can start painting! Tip: use a brush that you can throw away afterwards, because the epoxy doesn’t rinse well from the brush and you won’t be able to use it again. The epoxy is self-leveling, so just watch for drips as you go. Two coats of epoxy will probably be needed, unless you are changing from a darker color, then you may need three. For best results, follow the manufacturer’s directions about the time needed between coats.

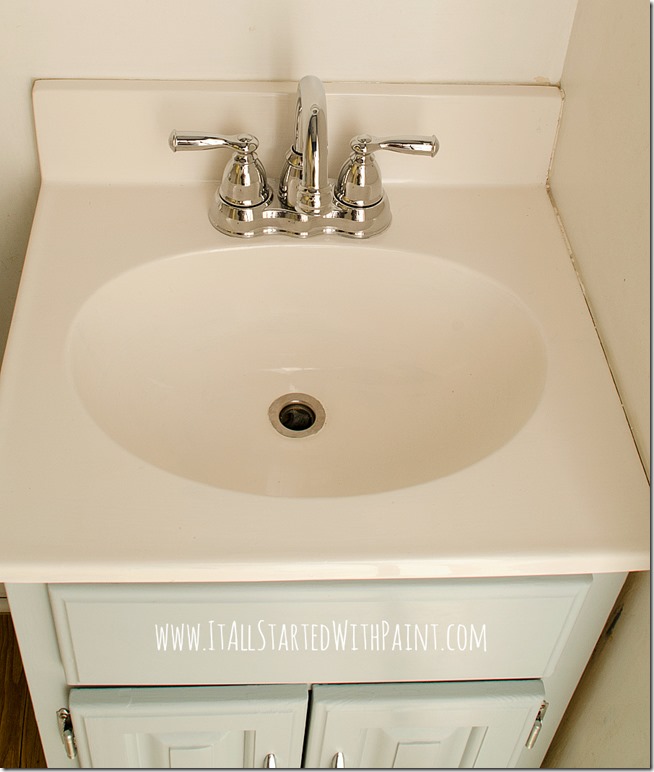
Once the epoxy has cured for 72 hours, you can remove your painter’s tape {if used}, install new faucets, and enjoy your almost new sink!


Leave a Reply