The new look is distressed. So, lets talk about ways to distress wood. Even if it’s new!

Believe it or not, there is an easy way to distress new wood and give it that old charm and character you love about old wood. Read for more information!

Ways to Distress Wood
First off, you need to acquire the following items:
1. water-based primer
2. white paint in a semi-gloss finish
3. chocolate brown paint (just a small sample size will do perfectly!)
4. Faux Glaze by Behr
5. polyurethane
6. sandpaper
7. brushes–bristle and foam
8. rags or paper towels
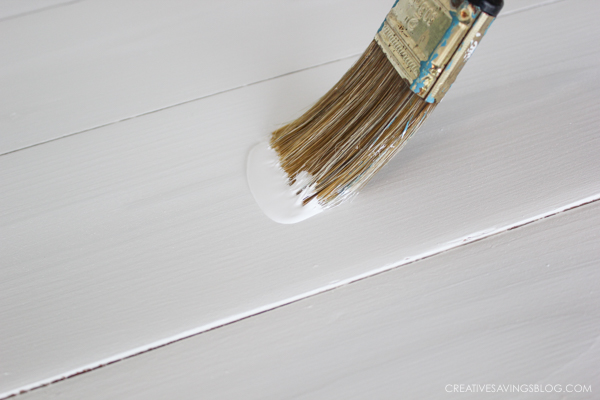
The first step is to sand the piece you are distressing until it is nice and smooth to your touch. Once it is sanded, give it one coat of the water-based primer.

Once the primer is dry, apply one coat of a white semi-gloss paint. It is also fine to use ivory if you prefer it. Use enough paint to cover the piece well, which Kalyn says may require two coats.
Now the fun part begins! Don’t worry about messing it up, because it is nearly impossible! Just use some sandpaper or a sanding block, and take the sharpness off the edges. Sand some spots more than others, because you are going for a look of natural wear and tear.

Once you are happy with the amount of sanding you have done, it is time to mix the chocolate brown paint and Behr’s Faux Glaze in a 50-50 ratio. Paint a conservative amount of this mixture over a small section of your piece, and then immediately wipe it off with your rags or paper towels. Continue working in sections, adding the brown glaze and immediately wiping it off.
Wipe off as much as you can, but a little of the glaze will be left behind, which settles into the parts you just sanded and creates the aged look you’re going for.

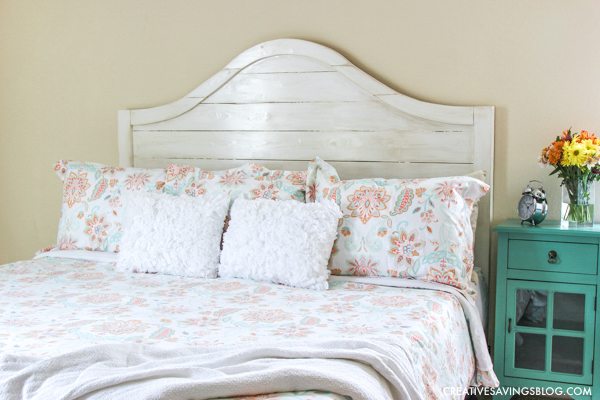
Once you’ve finished with the brown glaze, finish off your new aged wood headboard (or other wood furniture of your choice) with a coat of polyurethane to protect it for the long haul. It also gives it a nice bit of shine. Beautiful!
For more tips and tricks on distressing new wood, visit Kalyn’s blog at Creative Savings.
Enjoy these other ideas from Pickled Barrel.


Leave a Reply