![]()
How would you like to DIY your own dry erase board? I would! But there’s a minor catch–it won’t look like a dry erase board you buy. It’ll look a hundred times better! Plus, it’ll cost you only about $5 and take 5 minutes or less. If you’re still with me {and why wouldn’t you be?} keep reading for the easy instructions.
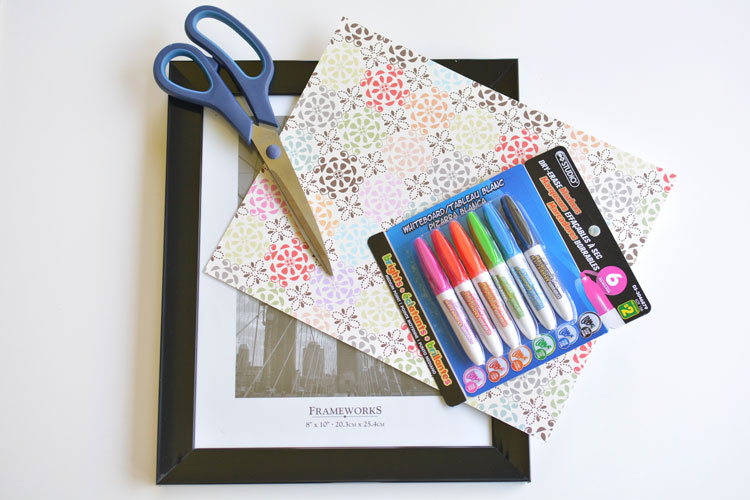
You’ll need some simple supplies for this lightning-fast project, and you can get them from Dollar Tree if you wanna spend just a little. If you decide to try this with a bigger frame and fancier papers and dry erase markers, visit Michaels. They’ll also have everything you see here!
an 8×10 frame with glass
cute scrapbook paper in your choice of print
dry erase markers
Now all you have to do is open up the back of your chosen frame. Remove the supplied backdrop and replace it with the scrapbook paper. Put the frame back together.
The dry erase markers easily wipe right off of the glass in the frame, so you can use it over and over again, just like a real dry erase board. Depending on the scrapbook paper design that you choose, you can use this DIY dry erase board for any number of uses. I like the idea to create a menu board for the kitchen.
![]()
With how little this DIY dry erase board costs, you can make more than one. Use one for family messages, and use another to keep track of what you need from the grocery store. Put one in each child’s bedroom so they can keep track of their own to-do list, jobs, or homework. The possibilities are endless!
![]()

Leave a Reply